This tutorial is also available in video, watch it right here :
1- Introduction
First of all, this tutorial is made for Windows, so the folders in which I'm going to go in the tutorial may not be the same with you !
For more information, follow this tutorial.
___
2- Install his server
To install an ArmA 3 server, everything will be done via SteamCMD.
I don't have SteamCMD ?
In this case, it will be simple, go here : https://developer.valvesoftware.com/wiki/SteamCMD:fr
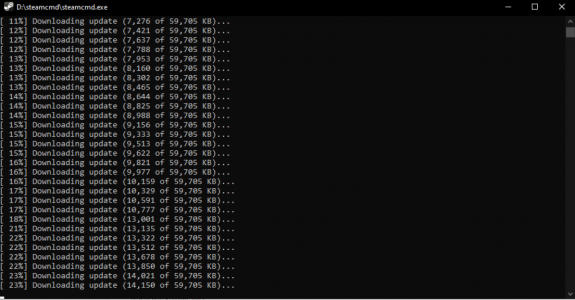
And download it via the button or directly from this hyperlink. You can launch it (steamcmd.exe) and wait for the download of the required libraries and files.
You can now follow the next part.
Now that we have SteamCMD, we can start SteamCMD if we haven't already.
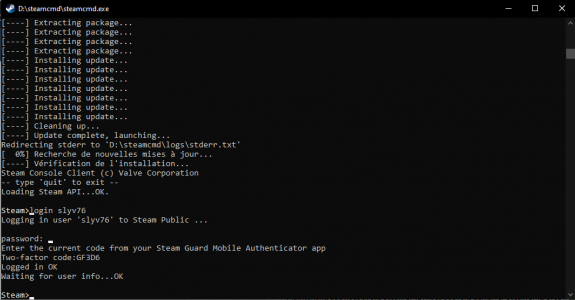
Afterwards, I will indicate my Steam account with the Arma 3 game (very important!) with these commands :
Code:
Steam> login username
Logging in user 'username' to Steam Public ...

password: *****

Enter the current code from your Steam Guard Mobile Authentificator App
Two-factor code: GF3D6

Logged in OK
Waiting for user info...OK

Steam>Steam> is the fixed location at the beginning of the commands.The two-factor authentication code may be optional.
"Username" is your Steam name. You will need to change it when you type the command.
Once connected, we will tell SteamCMD the folder where we want to locate our ArmA 3 server:
Code:
force_install_dir C:/arma3_serverNow, you will be able to start downloading the files in the selected Directory:
Code:
app_update 233780 validateOnce the download is complete, you should get a confirmation message, and you can enter in the console :
Code:
quitYou must now install DirectX11 which allows among other things to manage a part of Arma's physics, download it in the topic attachments.
This tutorial is now finished, if you have any remarks to bring up, improvements or anything else, I invite you to send it to me.
___
3- BONUS- Install TADST
To install TADST, you'll need Microsoft .NET Framework 4.5.
Then, it will be necessary to download TADST in the attached files, by pressing the buttonn appuyant sur le bouton : Click to download Tophe's Arma Dedicated Server Tool (TADST)
An archive is downloaded, you will have to extract it, open the folder inside named "TADST v3.1.0". (in my case, the version is this one, it can be delayed).
Then you will have the
TADST.exe, put it in the root folder of your server.- C:/arma3_server
| (folders, ..)
| mpmissions
| arma3server.exe
| arma3server_x64.exe
| TADST.exe
And you can open TADST, and now, your server is ready, right ?
Regards,
Mathis.
Fichiers joints
Dernière édition par un modérateur:


